Primitive Rustic Country Decor – DIY Tealight Candle Holders
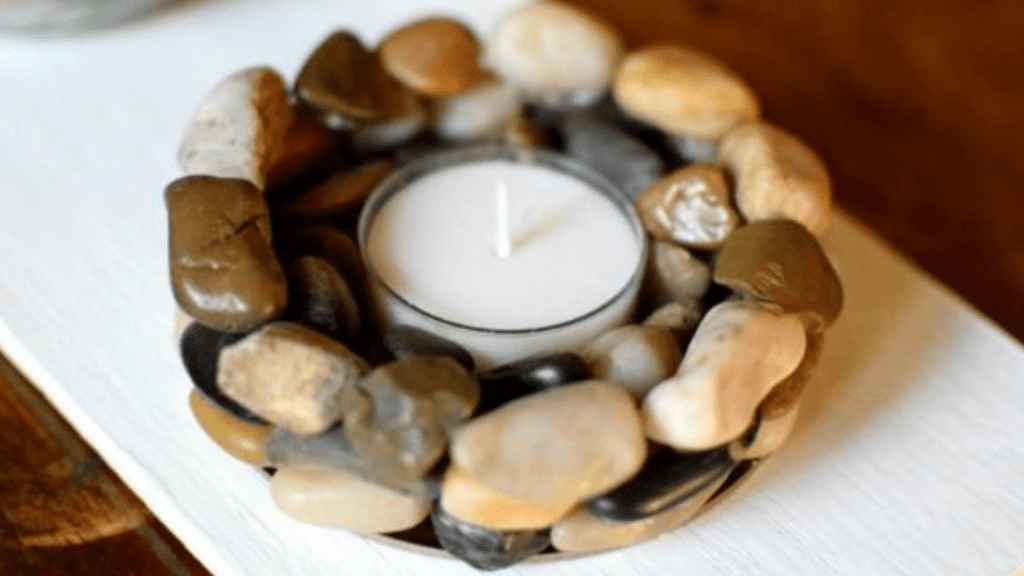
I crafted some awesome tealight candle holders that were super easy to make. I will have to admit that I didn’t feel like going to the store, so I came up with this DIY from supplies that I already had in my house.
I love when I can fetch materials quickly and still have an awesome craft idea in mind!
When I look at these candle holders, I dream of sitting right next to a calm river hearing the rivets of water splashing against the rocks.
Calm, Relaxing, and Serene.
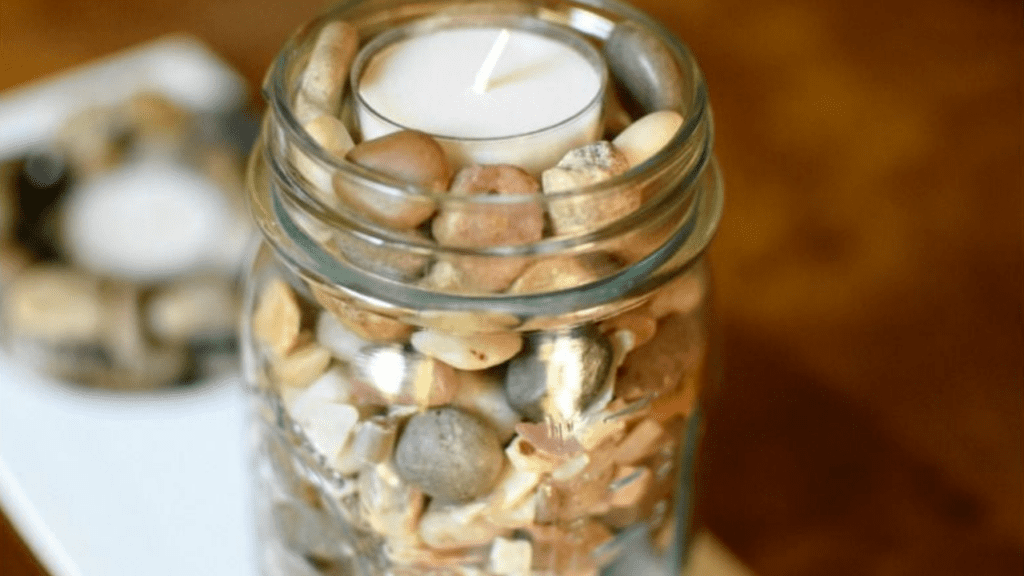
This DIY can be used as a table centerpiece, wedding decor, or for simply a home decor to go right above your fireplace mantel. I have mine placed in the middle of my coffee table that sits in my living room.
When the night time comes, pop some popcorn, turn on a movie, light those candles and enjoy the presence of family or friends.
Now let’s get to it!
Supplies:
- Brown Spray Paint
- Chalky White Paint
- 2 Ball® Wide Mouth Lids
- 1 Ball® Regular Mouth Pint Mason Jar
- Medium Sized Assorted Rocks
- 3 White Tealight Candles
- Hot Glue Sticks & Gun
- 17″ x 5″ Wood Slat
Directions:
This first step isn’t necessary, but I went ahead and spray painted the wide mouth lids in brown. I didn’t want the silver to show through the cracks of rocks. You can bypass this step, as I’m sure it won’t matter. Or you can choose to go ahead and paint away!
Let your lid’s dry. NOTE: It was a nice summer day when I was completing this project, so I thought it would be fun to paint outside! Little did I know that the sun caused the spray paint to coil on my lids.(sad face). I then moved over to some shade and the paint dried perfectly. So lesson learned, don’t let your paint dry under the scorching hot sun.(happy face).

Now it’s time to glue the rocks on the top of your wide mouth lids. Using your hot glue gun continue to glue each and every rock around the top rim. Make sure to use a good amount of glue or the rocks will fall apart. All in all, I used three layers of rocks, building on top of each other. In the long run, it is easier to try and find mostly flat rocks to use.
Repeat this step, doing the same with your second wide mouth lid.
Once you’re finished hot gluing all the rocks, place a tealight candle right into the middle. I choose to throw in some extra rocks to fill up some space.
Next will be the pint jar! This one is super easy. Place rocks into the mason jar filling it all the way to the top. Then garnish with a tealight candle.
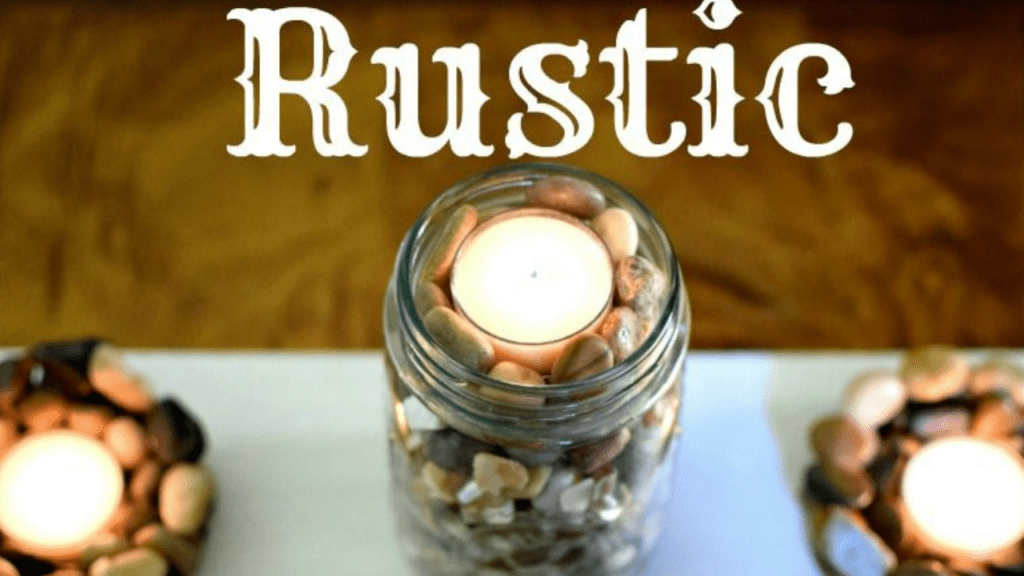
I added a wooden slat to hold the three together. As the ambiance of this DIY will be able to catch the eye like it so rightly deserves. I cut, with an electric saw, the wood so that it measures to be 17 inches long and 5 inches wide. I then painted it with chalky white paint to give it a rustic feel.
HINT: I am in love with all colors of chalky paint. I feel like it gives any project some extra fun personality!
Let the wooden slat fully dry and place your three candle holders.
Now it’s time to relax and enjoy your evening by candlelight.
What do you think? Like?
I hope you enjoyed this fast and fun primitive rustic country decor tutorial! If you have any questions please comment in the section below!

