Stunning DIY Terra Cotta Planters for Indoors & Outdoors
I love decorating my home with plants! So much that my house is starting to look like a jungle.
During the past year, my yearning for succulent plants has grown. They literally come in every color of the rainbow and are super easy to take care of.
Succulents only need watering once a week and are pest resistant so they make perfect indoor plants. Unique is what I like to call them.
Take a look at how I get free house plants with my stem propagation method.
Yesterday I bought two beautiful succulents. I can’t seem to go to a store without buying something I didn’t originally go there for, so I came home with a cactus too. They compliment each other very well.
I wish I had written down the names of the succulents I purchased for you, but I threw away the plastic holders. Sorry!
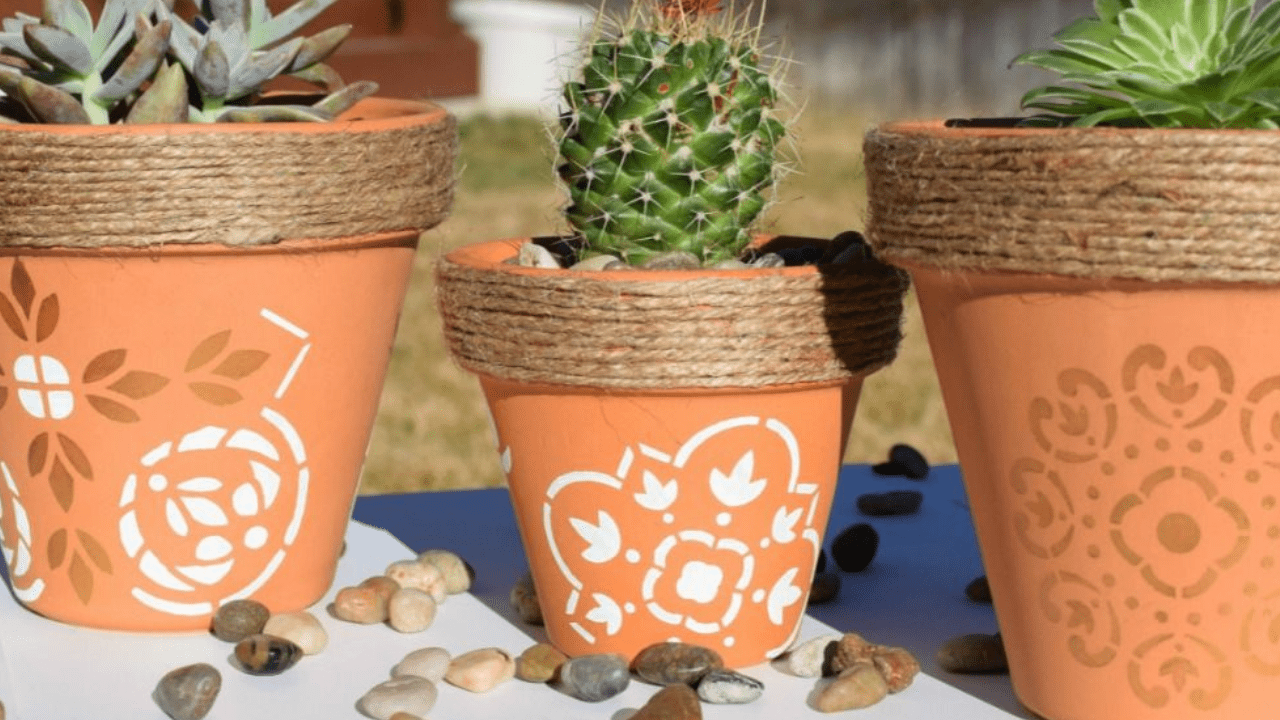
I jazzed up my Terra Cotta pots, to give them a rustic feel. This DIY is really simple to do and the outcome is stunning.
If you would like to do this for bigger outdoor pots, simply add a top coat sealer and it will last through harsh weather environments. Let’s begin!
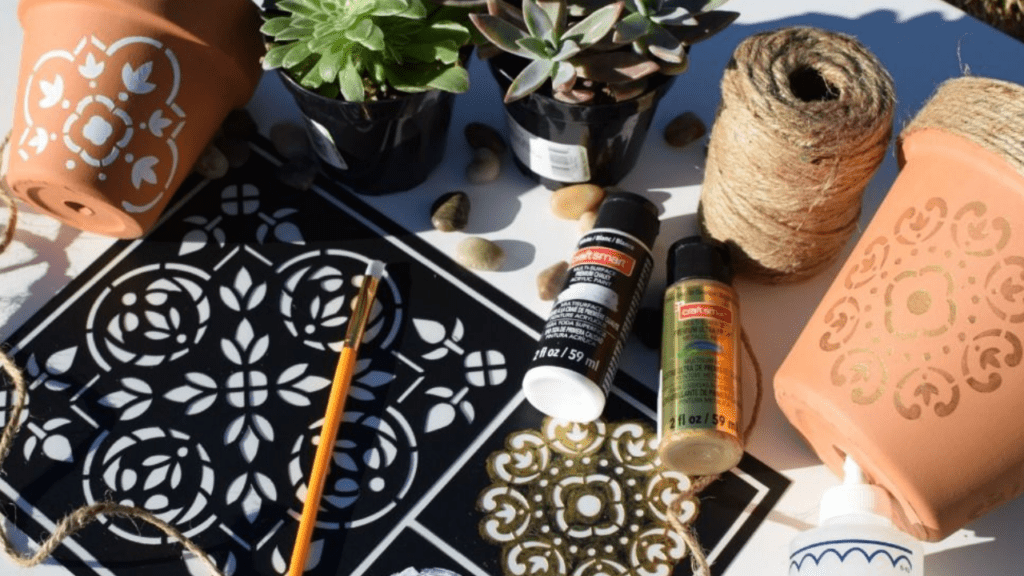
Supplies
- Terra Cotta Pots
- Clear Tacky Glue
- Natural Twine
- Adhesive Stencil
- Acrylic Metallic Gold Paint
- White Chalky Acrylic Paint
- Paint Brush
- Scissor
- Top Coat Sealer (Optional)
Clean the surface of the Terra Cotta pot with a wet paper towel. Let dry for about 10-20 minutes. If you’re impatient like me, take a blow dryer to it.
Get an idea of where you want to place the stencil. Slowly peel from plastic backing and attach to the pot. Pat down every nook and cranny of the stencil.
Honestly, using an adhesive stencil makes painting A LOT easier.
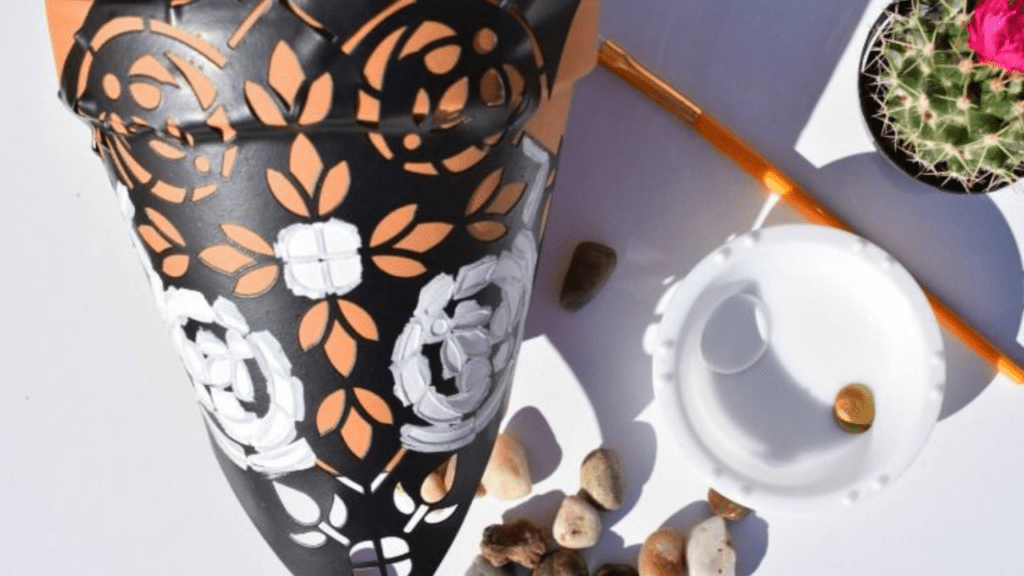
Paint! I painted one with white, one gold, and the other with both white and gold paint. Mix it up if you want or use one color. With each small section of the stencil, I dabbed with paint and then made one stroke over to give it a clean look. I used one coat for the white paint and two coats for the gold.
If you are using outdoor pots, this is when you can add the top coat sealer.
Carefully peel the stencil from the Terra Cotta pot. The manufacturer directions said to peel when the paint is wet. I let my paint dry before taking off my stencil and it did just fine.
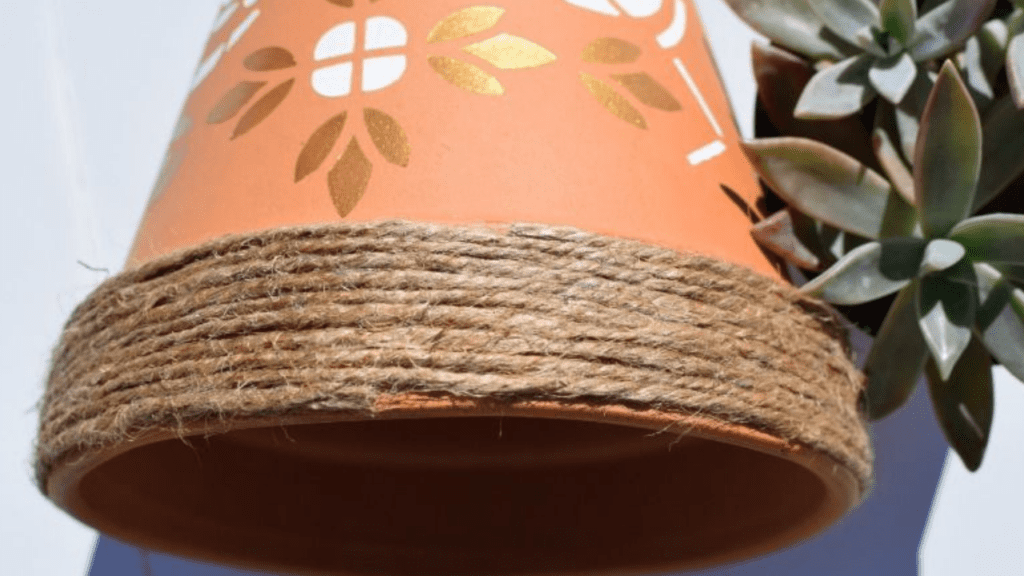
Now for the twine! Find the side that you like the least and start gluing your twine at the top rim. Wrap all the way around continuing to glue at the same spot but lower. Keep on doing this until you reach the bottom. Cut with scissors and glue the end to the pot.
I prefer using clear tacky glue rather than a hot glue gun. You won’t have to deal with the leftover strings of hot glue or burning your fingers.
Plant your succulents, flowers, herbs, or anything else! I used this cactus potting mix (succulents love this!) and small rocks to decorate the top.
That’s it! Pretty easy right? If you have any questions about making your Terra Cotta Planters feel free to comment in the section below. I will get back to you as soon as I can!